
HOA Siding Replacement Step-by-Step
A clear roadmap for Colorado multifamily communities
HOA Siding Replacement Step-by-Step
A clear roadmap for Colorado multifamily communities
HOA Siding Replacement Step-by-Step
A clear roadmap for Colorado multifamily communities
Trusted Partners
Industry-Leading Brands
In This Guide
Everything you need to know about hoa siding replacement step-by-step, organized in clear, actionable sections.
Why a Clear Process Matters
Understanding the complexity of HOA projects
Steps 1-4: Planning and Design Phase
Evaluation, material selection, scope, and design
Steps 5-7: Contractor Selection and Pre-Construction
Choosing partners and finalizing plans
Steps 8-10: Construction and Installation
The actual replacement process
Steps 11-12: Project Completion and Maintenance
Final walkthrough and ongoing care
Why a Clear Process Matters
In a single-family project, decisions can be made quickly between the homeowner and contractor. In an HOA, the process involves:
- Multiple layers of approval
- Budget and funding considerations
- Coordinating schedules for dozens of occupied units
- Clear documentation for both owners and contractors
Having a structured plan keeps projects on time, within budget, and supported by residents.
Steps 1-4: Planning and Design Phase
Step 1 – Evaluate the Condition of Your Siding
Before you can plan, you need to know exactly what you're dealing with. Use our detailed inspection guide to identify all warning signs. That means:
- Walking the property to identify visible signs of failure: warping, rot, cracks, hail damage, or paint failure
- Listening to maintenance reports for recurring repairs
- Reviewing your reserve study for any scheduled siding replacement timelines
Step 2 – Select the Right Siding Material
Choosing your new siding is one of the most important decisions your board will make. For a detailed comparison of all options, see our complete material selection guide. In Colorado, the most common choices are:
- Fiber cement siding – Non-combustible, hail-resistant, and low maintenance
- Engineered wood siding – Offers a wood look with improved durability
- Vinyl siding – Lower cost but less resilient to hail and UV exposure
- Stucco or EIFS – Style-specific and requires careful moisture management
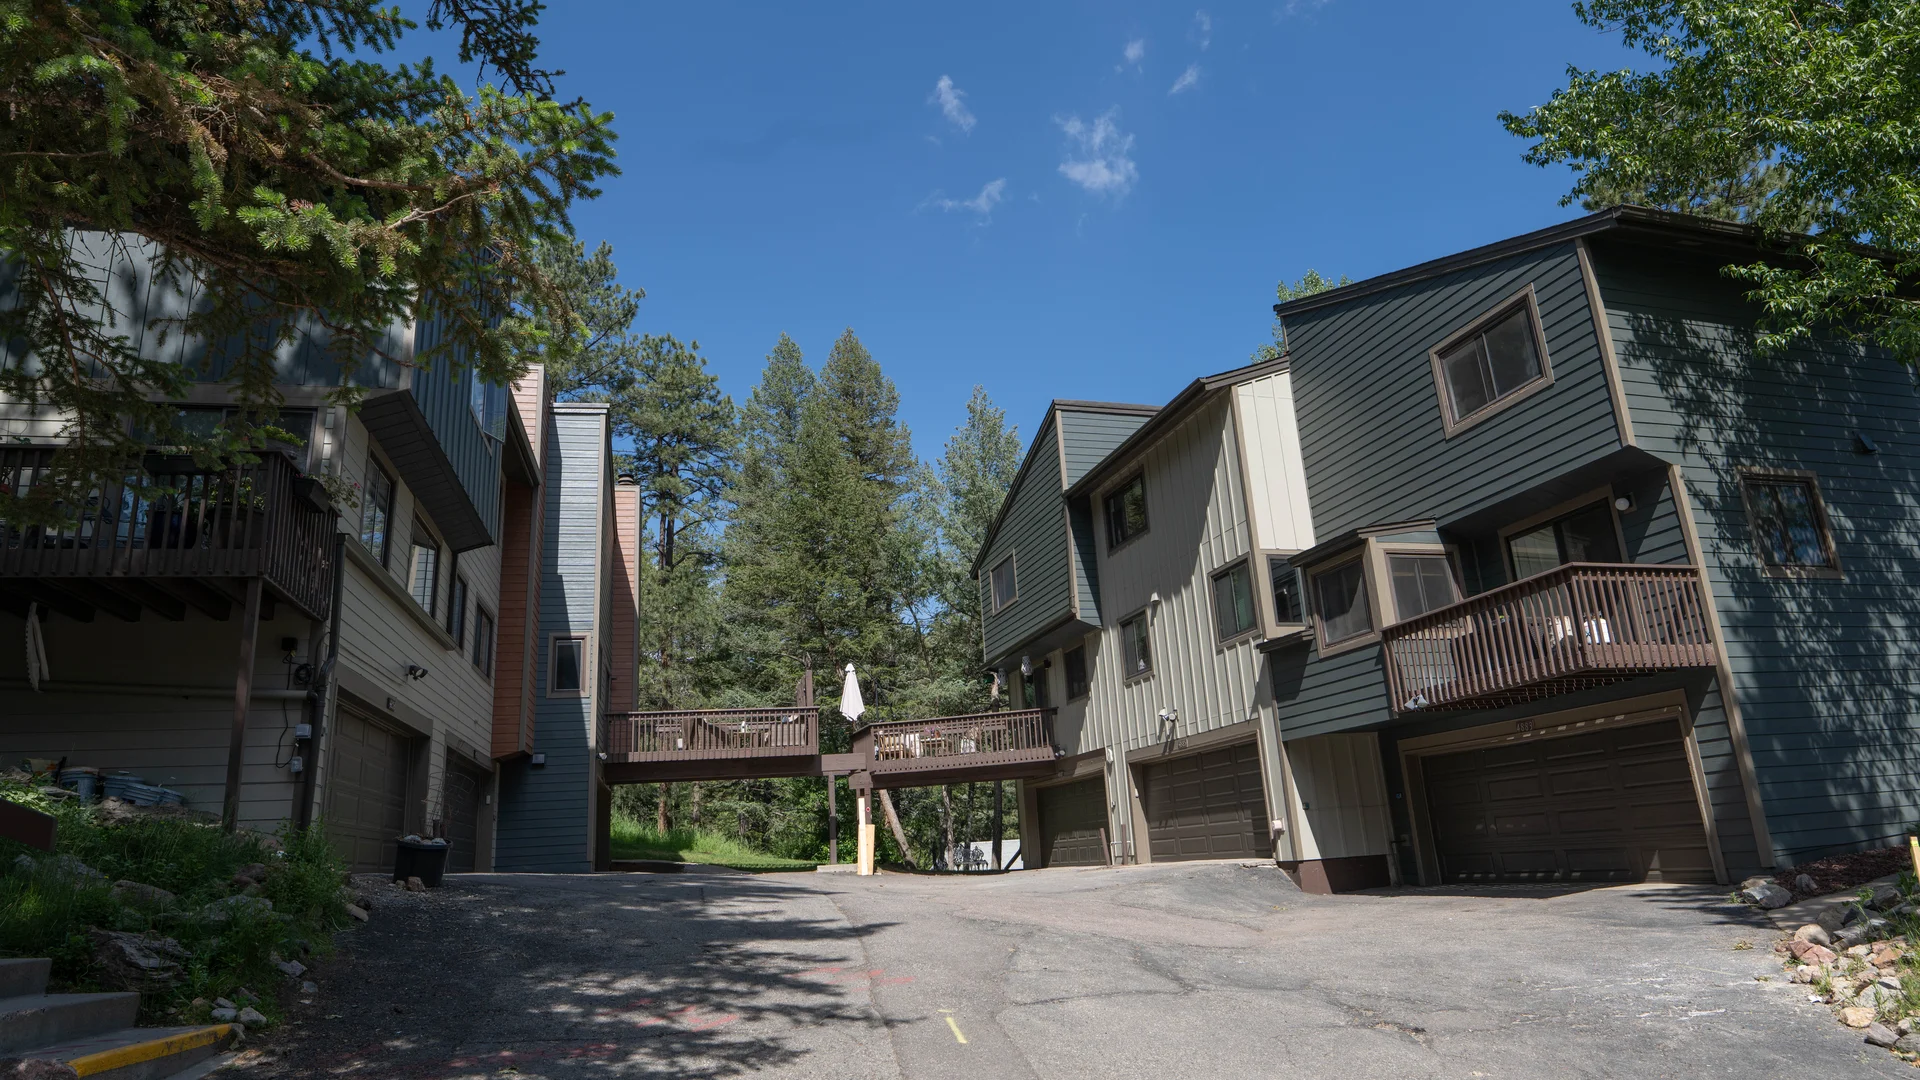
Step 3 – Define the Project Scope
Once you know the material, define the scope clearly:
- Which buildings and elevations are included?
- Will trim, soffits, and fascia be replaced or repaired?
- Are you replacing house wrap, flashing, and other weather barriers?
- Will the project include related upgrades like window replacement, deck repairs, or insulation improvements?
Having a well-defined scope sets the foundation for accurate bids and fewer surprises later.
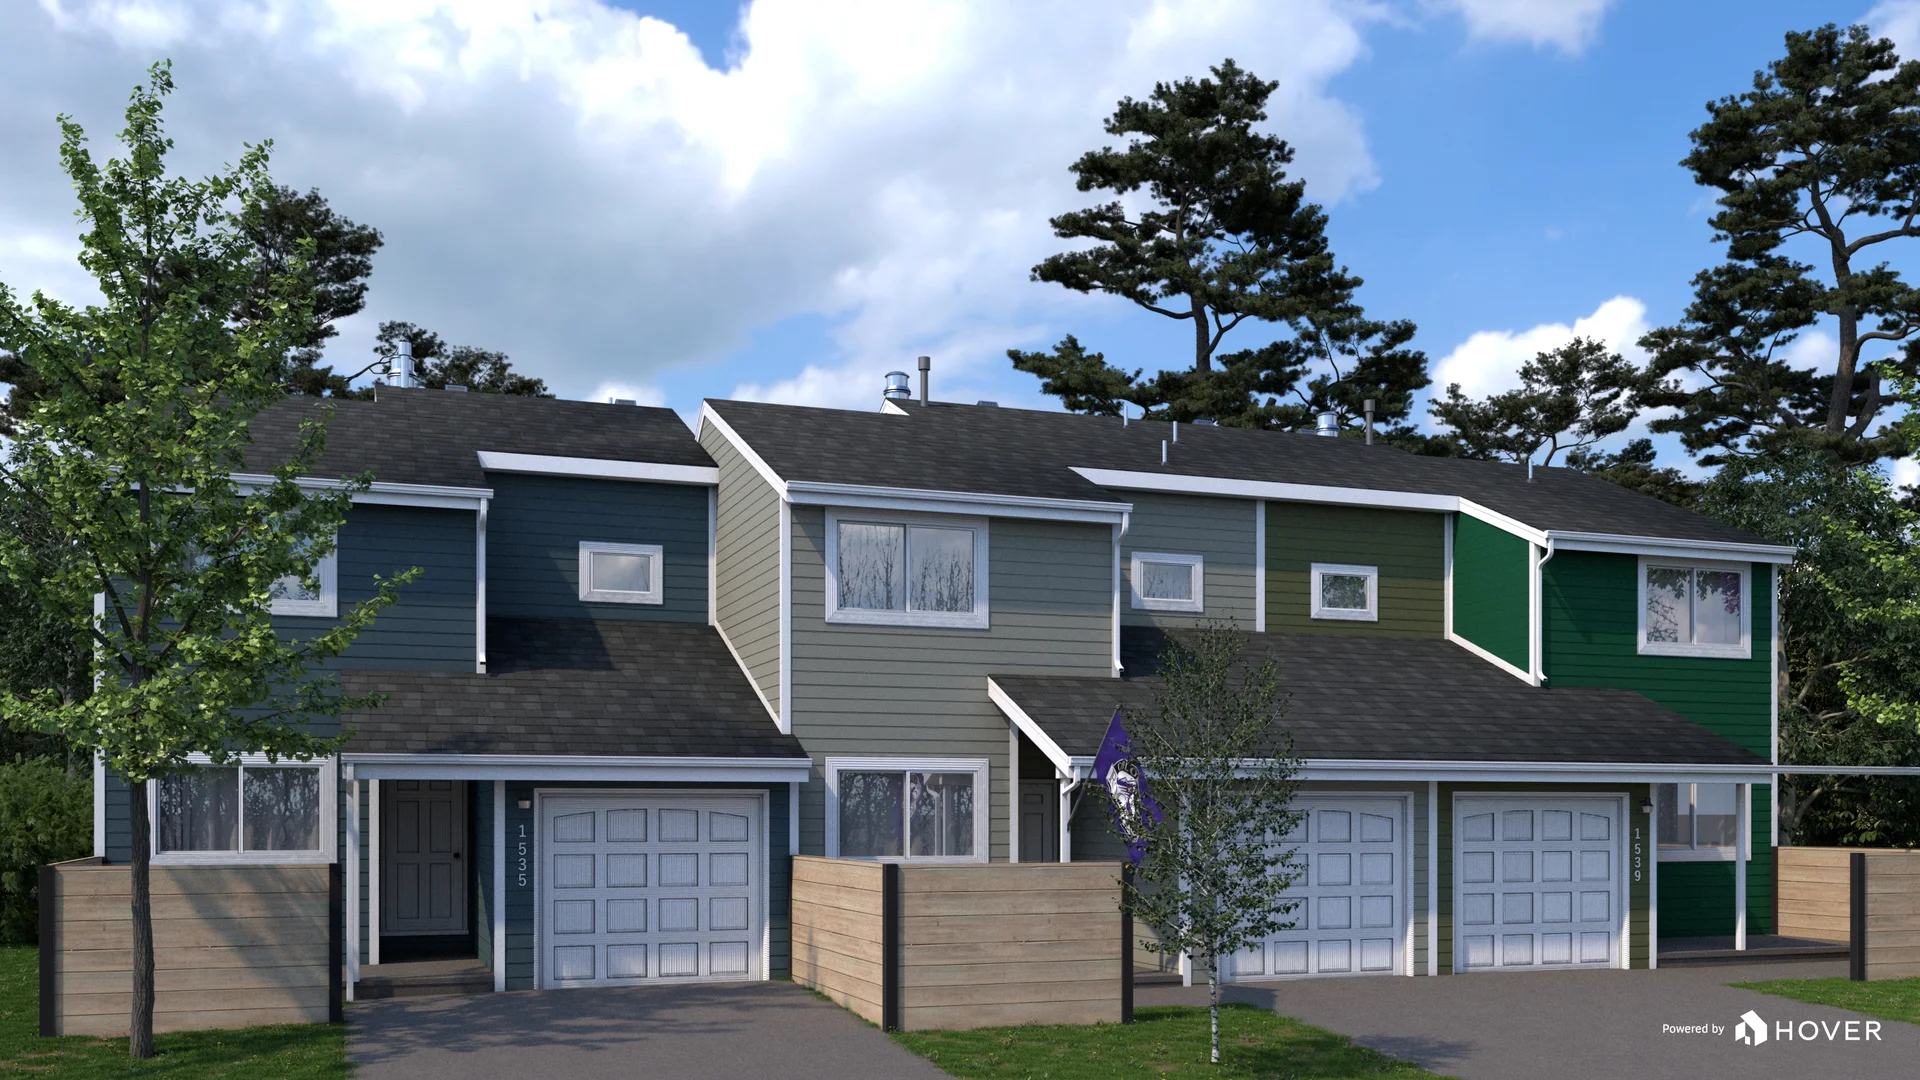
Step 4 – Plan Design and Color Choices
A siding project is also a design project. Your board should:
- Select a color palette that complements the architecture and landscape
- Consider future availability for touch-up or repair
- Use physical samples and mock-ups to help owners visualize the change
Steps 5-7: Contractor Selection and Pre-Construction
Step 5 – Select Your Contractor
The contractor you choose will have a major impact on the success of the project. In an HOA, you want a partner with proven multifamily experience, strong communication practices, and the capacity to handle large-scale logistics. For complete guidance on this critical decision, see our contractor selection and bidding guide.
Key considerations include:
- Writing a clear RFP
- Hosting site walks
- Comparing bids apples-to-apples
- Conducting background checks and reference calls
Step 6 – Finalize Budget and Funding
With contractor pricing in hand, the board can make informed financial decisions. For detailed guidance on funding options and budget planning, see our financing and budgeting guide.
- Compare bids to the reserve study allowance
- Decide whether to use reserves, a special assessment, an HOA loan, or a combination
- Set aside contingency funds for concealed conditions
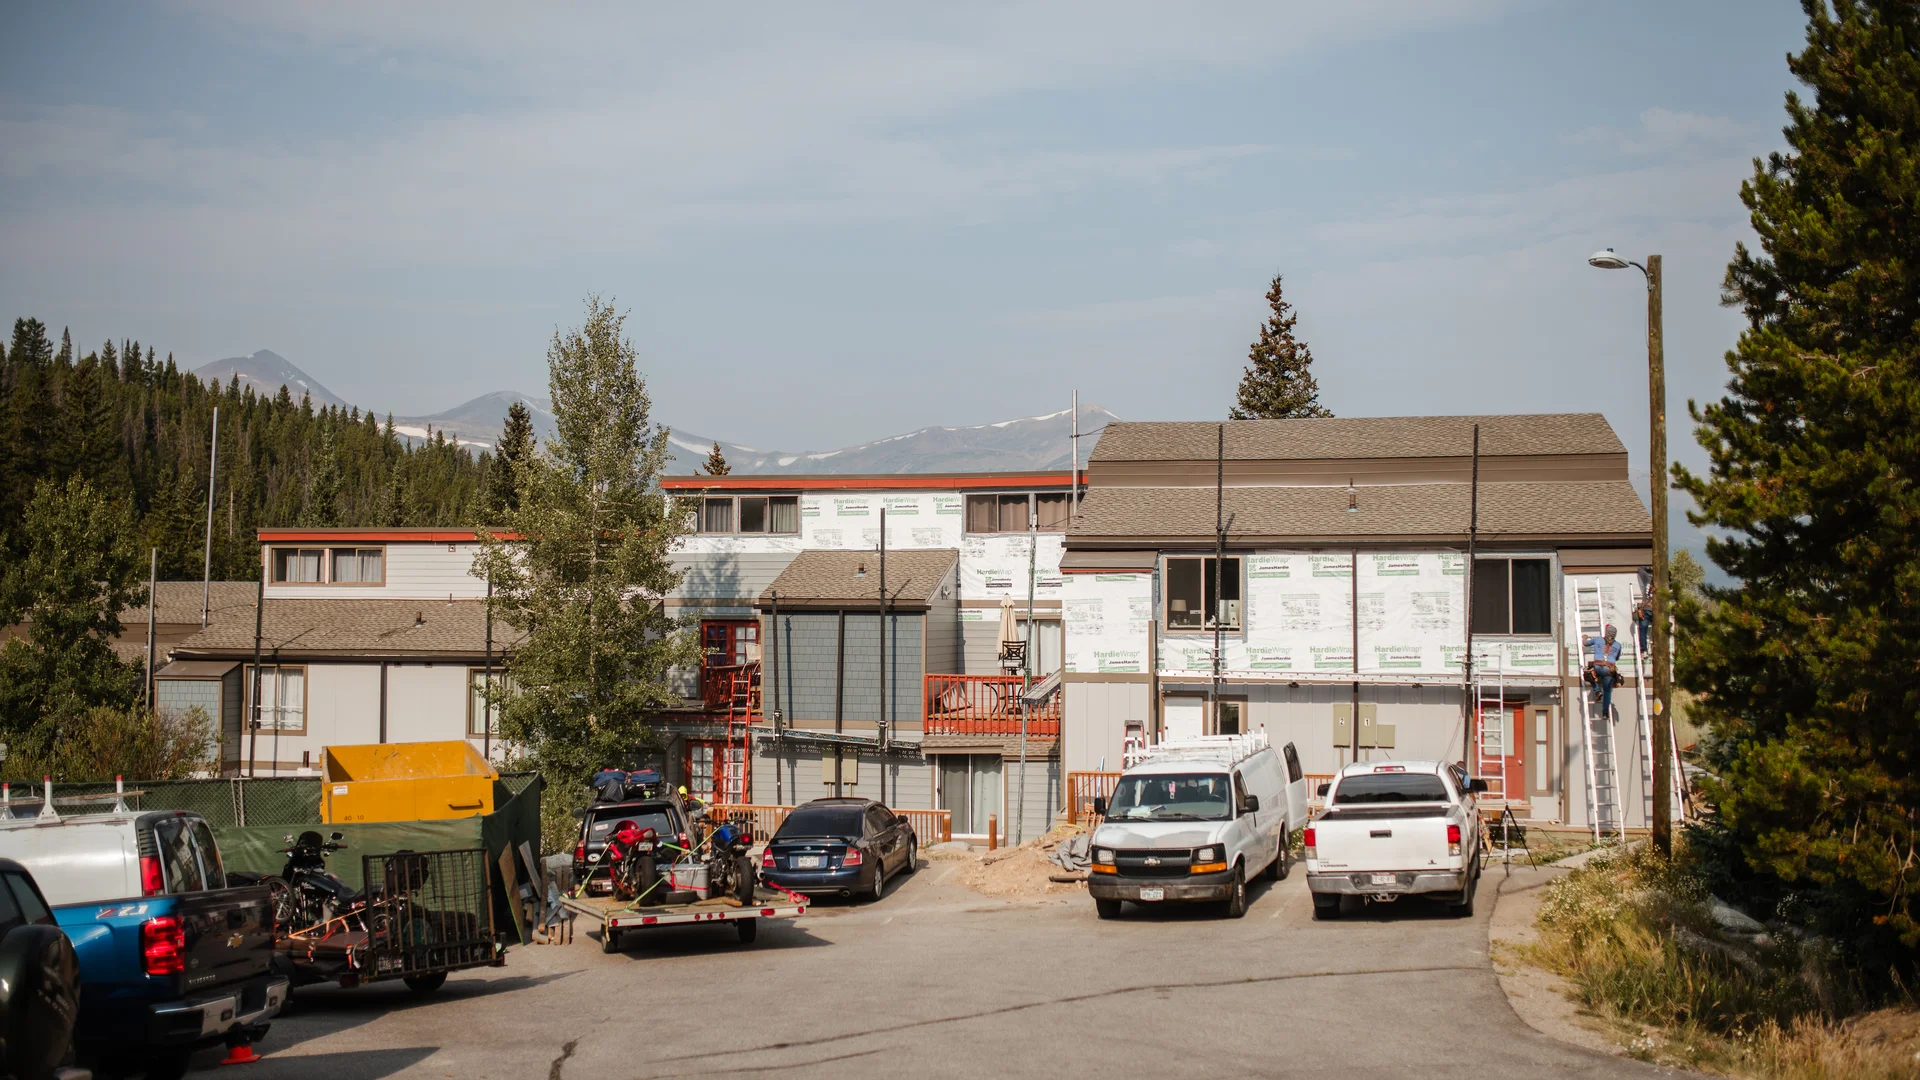
Step 7 – Pre-Construction Planning
Before the first crew arrives, lock in:
- Permit applications and approvals
- Work schedule and phasing plan
- Resident notices about noise, access, and parking changes
- Staging areas for materials and waste containers
- Safety measures for walkways and shared spaces
Good pre-construction planning reduces disruption and keeps everyone informed.
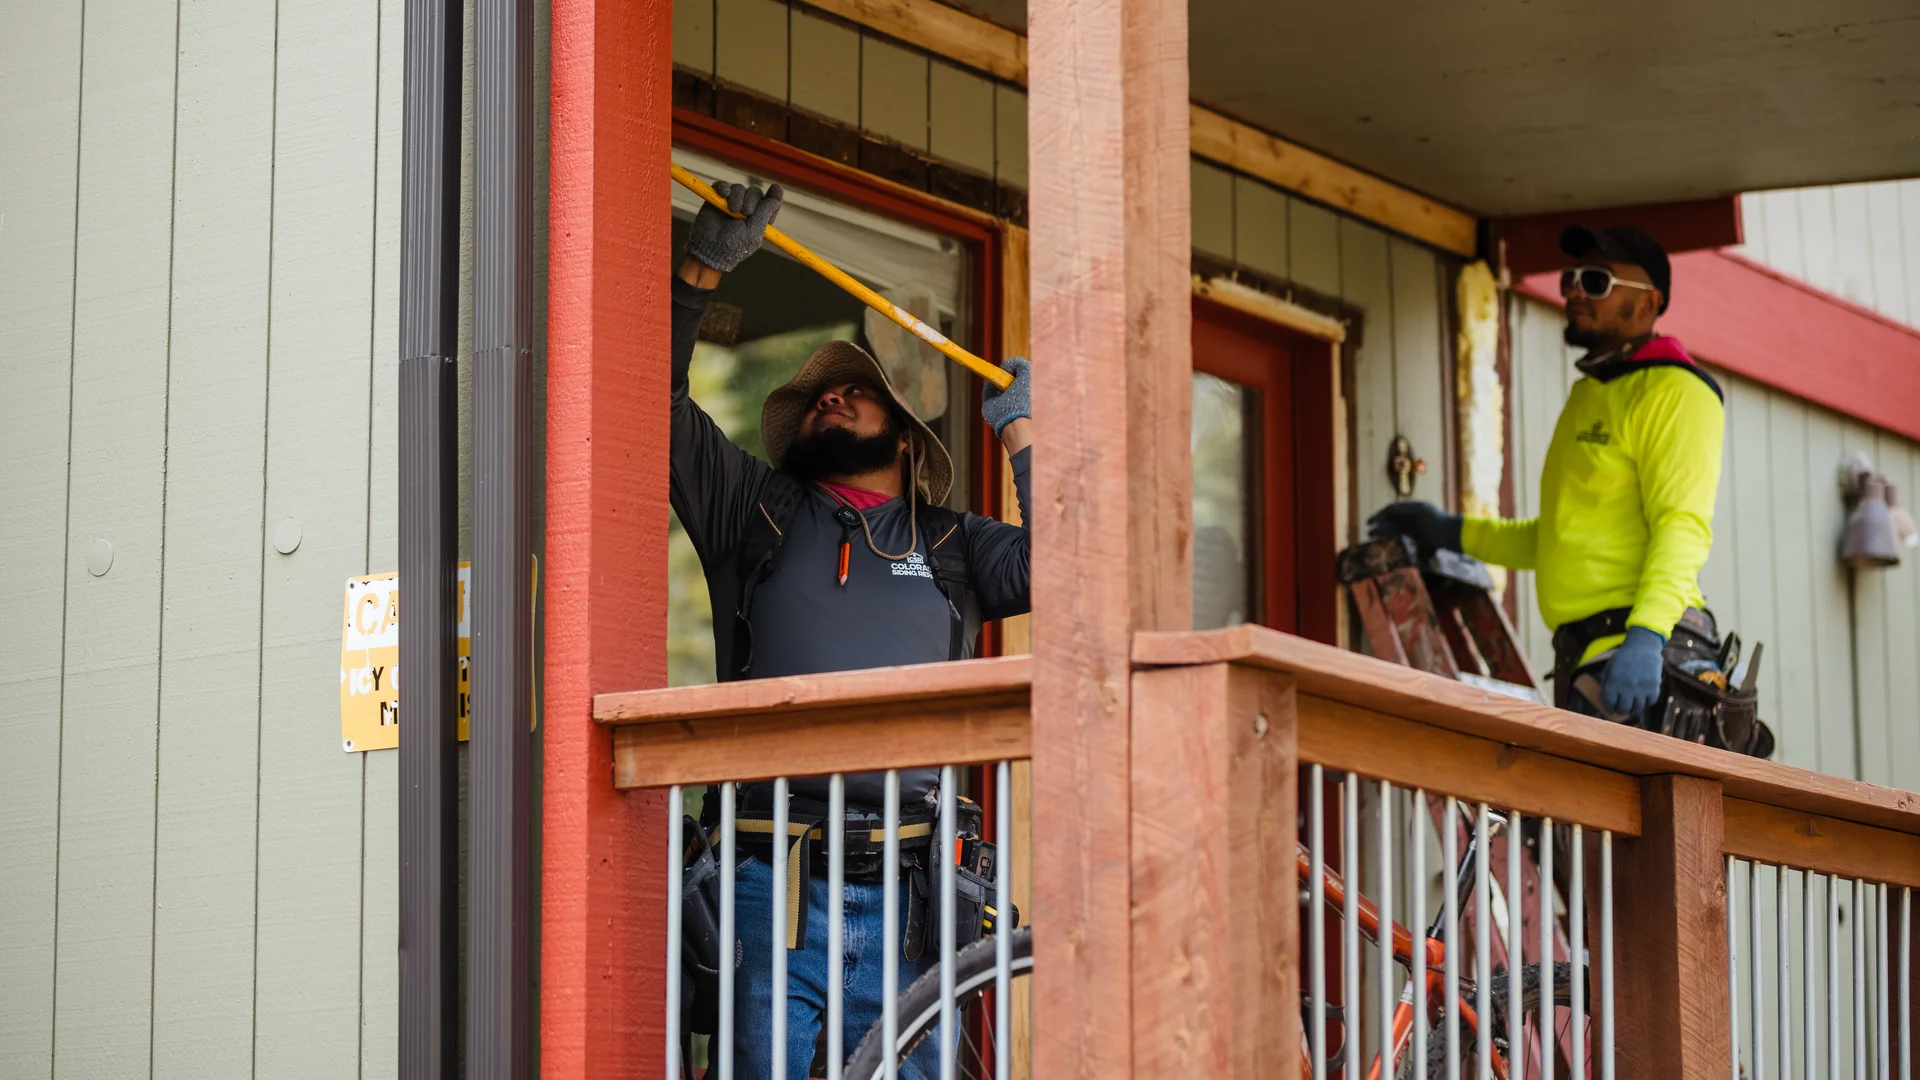
Steps 8-10: Construction and Installation
Step 8 – Removal of Old Siding and Inspection
Once work begins:
- Crews remove existing siding in manageable sections to avoid overexposing walls to the elements
- The sheathing and framing are inspected for rot, mold, or pest damage
- Any needed repairs are made before new siding is installed
This is also the time to upgrade weather barriers, flashing, and insulation if included in the scope.
Step 9 – Installation of New Siding
The installation phase is where your planning pays off. Expect:
- Proper weatherproofing before panels go on
- Manufacturer-recommended fastening and clearances
- Careful alignment for consistent lines across buildings
- Integration with windows, doors, and trim for a seamless finish
Step 10 – Finishing Details
This is where the project truly takes shape:
- Caulking and sealing all joints and penetrations
- Painting or touch-up work if using paint-grade materials
- Installing trim, soffits, fascia, and any decorative elements
- Thorough site cleanup at each stage
Steps 11-12: Project Completion and Maintenance
Step 11 – Final Walk-Through and Close-Out
Before closing the project:
- Conduct a detailed walk-through with the contractor to create a punch list of any outstanding work
- Ensure all warranty documents are provided and registered
- Receive a maintenance guide specific to your material and finish
- Update your reserve study to reflect the new siding's life expectancy
Step 12 – Ongoing Maintenance
Even the most durable siding needs care. Regular maintenance includes:
- Annual inspections of caulking and flashing
- Periodic washing to remove dirt and pollen
- Following manufacturer paint or finish cycles
- Promptly addressing any damage to prevent water infiltration
Special Considerations for Colorado HOAs
Because of our state's unique challenges, make sure your process accounts for:
- Wildfire risk – Choose non-combustible siding in WUI zones
- Hail and wind – Use impact-resistant materials and proper fastening methods
- UV exposure – Select finishes designed for high-altitude sun
- Weather windows – Plan schedules around Colorado's seasonal conditions
Explore More
Related Resources
Dive deeper into specific topics with our detailed guides and resources.
Frequently Asked Questions
Common questions about HOA Siding Replacement Step-by-Step answered by our experts.